 Build:
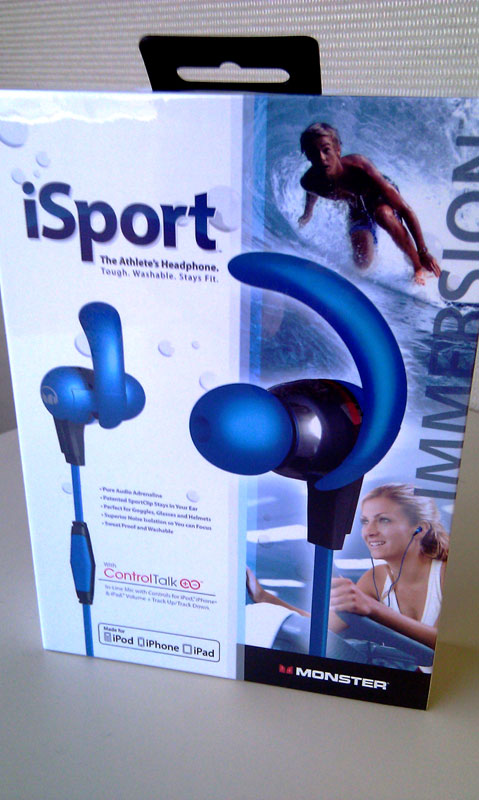
The iSport Immersion earphones from Monster (not part of the Beats series) stays in slippery sweaty ears while doing vigorous exercise, sound pretty dang good, and are washable, ie waterproof, and have a dang near bomb proof build.
The ribbon like cable with the microphone and iPhone/iPod controls is very light weight and doesn’t appear to easily catch anything. Though it does bounce around more while running than thicker, heavier cables will.
The build construction is very good for this price point. The 1/8-inch 90-degree adapter got violently yanked out of my HiFi Man a couple times this past week and it hasn’t shown any sign of such abuse. After running and a couple washings, no signs of wear. The y-split yoke is also well made – it didn’t easily tear apart with a few foul ups while working out. Sure anything can happen in a crash, but the tougher something is the less likely you’ll have to replace it. And these seem tough to me.
Fit:
I run, bike, climb and frankly I am just sick of earphones that fall out or hurt after a while. Sure for a mile or two things are all cherry, but once the sweat gets in the ears, pop goes the weasel for the rest of the run. Super irritating. This never happened with the iSports. The curved brace that held the earphones in my ear really do a great job holding the earbuds in place. Once sizing was worked out.
It seems like there are a million combinations to find the best fit for your ears.. Both for the plastic isolating tip and the brace, they run the gamut from XS-S-M-L-XL. I’ve never seen so many stock options ever. When I dumped them out across my desk I though I was playing Risk there were so many pieces. I ended up using the largest plastic isolation seal tip and the size Small brace. Seemed like a weird combo to me, but maybe I’ve got small ears for a guy who is 6’4â€. Doesn’t matter, the point is I was able to find the combo that worked for my ears. A note about the brace, it is hard to remove from the earphone and can break if you push on it from underneath the brace part itself. When switching brace sizes don’t push on the brace itself. Slide a nail under the side without the brace and hold the metal housing and isolation tip between two fingers on the other hand. Pop off the brace by inserting a nail under it and popping the blue plastic brace off. May require more force than you think. I learned the hard way. The size that came installed on my set was M and now the left M brace is broken. Good thing it wasn’t my size.
I tried on three different size braces; small, medium and large. I noticed that if the size was wrong if my ears started to hurt after a half hour of wearing. When that happened I tried a smaller size. Once I was on Small nothing hurt and everything fit perfectly.
I found that seating the earphone in place was slightly tricky. I’m used to having to shove earphone up into the ear canal to create enough of a seal for the bass. But you can’t do that with these. So it is very important to match the plastic isolation tip to the size of your ear. The tip should just sit in your ear and create a seal. The adjustable/rotating/angle-able/moveable tip allowed me to pre-angle the direction the tip was pointing, place the earphone in my ear, rotate backwards to seat the brace and create a perfect seal. Honestly it is a little complicated at first, but once I found the right sizes and how to insert the earphones it couldn’t be easier.


Leave a Reply